Effects
-

Return Track Tips & Tricks
Ableton’s Drum Rack instrument has its own integrated send/return section, which allows you to add return effects to individual drum samples.
Read More -
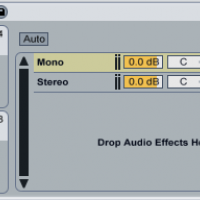
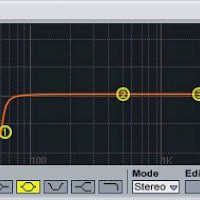
Build a Bass Mono/Stereo Rack in Ableton
Generally speaking, the bass channel in a track should be in mono: most subwoofers (not to mention club soundsystems) play a mono signal much better than a stereo one.
Read More -
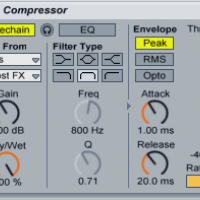
Synchronize a Sidechained Compressor to the Beat
Sidechained compression is an ubiquitous sound in dance music. Its pumping sound brings a shot of energy to basslines, pads, lead synths, vocals: nearly any element of an EDM track.
Read More -

Audio Effects 101: Time-based FX
Time-altering audio effects like reverbs, delays and choruses all function in essentially the same way: they capture a portion of an input sound, delay it slightly, then play it back.
Read More -
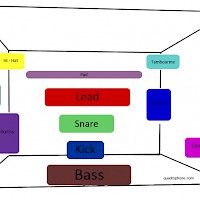
3-D Mixing
To prevent sonic conflict, each element in your track needs its own space in the mix. To help you put each element in its own space, think of the mix as if it were filling a room...
Read More -
Tips for Using Reverb
A reverb effect creates a complex series of echoes from a source sound. Reverb usually simulates a certain listening environment like a jazz club or a concert hall; used heavily and creatively, it can also warp a source sound until it’s unrecognizable.
Read More -
Mixing the Bass and Kick
Because the bassline and the kick drum are the two lowest-frequency elements of your track, they’ll often end up occupying the same space...
Read More -
Frequency Splitting with Effects
Frequency splitting divides a sound’s frequency spectrum into sections, allowing you to alter one section of the spectrum without changing the rest.
Read More -

How to Make a Trance Gate Effect
Add the sound that you want to gate (either a piece of recorded audio or a synth plug-in) to a new channel in Ableton. Create a new MIDI channel, then add the Impulse drum machine to this new channel....
Read More -
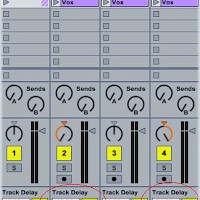
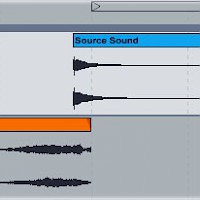
Doubling Vocals
Doubling vocals makes them sound bigger and fuller in the mix. A vocal doubler plug-in creates two (or more) copies of the vocal, pans them to the left and right, then adds a slightly different delay...
Read More -

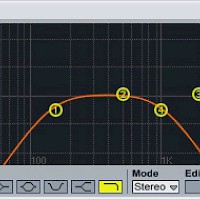
Make a Formant Filter
Formant filters (loosely) simulate the characteristics of the human voice. When a formant filter is set to the letter “E,” for example, it emphasizes the frequencies contained in the “E” sound...
Read More