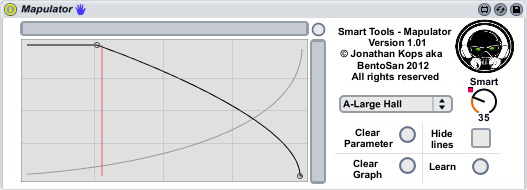
Mapulator Automation in Ableton Live
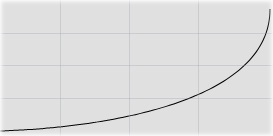
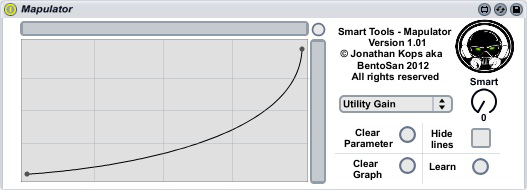
Among its many abilities, BentoSan’s thoroughly awesome Mapulator plug-in for Max for Live lets you use bezier curves for track automation in Ableton Live. Bezier curves are much smoother and more regular than the automation curves or straight lines that Ableton normally uses. A bezier curve looks like this:
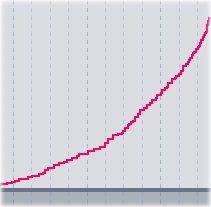
While the typical Ableton automation curve looks more like this:
 Ableton added support for curved automation in Live 9. However this method still gives you move control over the curve.
Let’s use a bezier curve to control the volume envelope for a track. You’ll need to have Max for Live installed. Open up the Max for Live effects folder, drop Mapulator onto an audio or MIDI track, then add a Utility plug-in after the Mapulator. Click the “Gain” knob on the Utility, then click the “Learn” button on Mapulator. This ties the “Smart” knob on Mapulator to the volume control. Click the lower-left corner of the graph window to add the first point. Press and hold the “Ctrl” key, then click and drag downward from the upper-right corner to create a curve.
Select Mapulator in the track’s device chooser drop-down menu, then select “Smart” in the second menu. Draw an envelope onto the track:

When you play the track, the volume will follow the bezier curve — not the straight line. Listen to the difference between a straight-line volume envelope:
and one that follows a bezier curve:
Mapulator can control the automation envelopes for up to eight parameters simultaneously. Here, for example, I’ve set up Mapulator so that, when the volume is low, the track is sent to a reverb channel. When the volume increases, the reverb send level drops down: