Doubling Vocals
Doubling vocals makes them sound bigger and fuller in the mix. A vocal doubler plug-in creates two (or more) copies of the vocal, pans them to the left and right, then adds a slightly different delay to each copy and changes the copies’ pitches by a few cents. Doubling is a subtle effect, but it can really fill out a vocal and give it presence. Instead of running a dedicated vocal doubler, you can create a doubling effect in Ableton Live using the track delay, pan, and detune controls.
Start by duplicating the vocal track twice. I’m using this vocal sample from AnaFranco ( which you can download here):
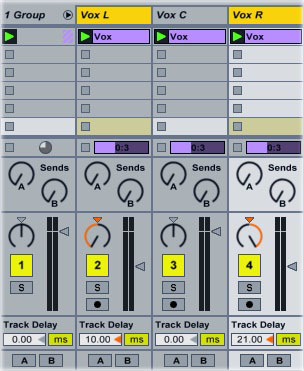
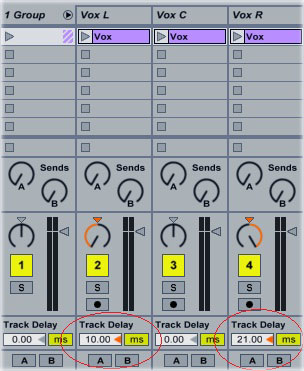
Group the three tracks together to make them easier to work with, then rename them “Vox L,” “Vox C” and “Vox R.”
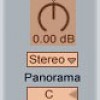
Pan the “Vox L” track all the way to the left; pan “Vox R” all the way to the right. Enter two different numbers into the “Track Delay” controls underneath Vox L and Vox R. The larger the numbers, the wider the vocals will be (to keep the vocals from sounding separated, keep the track delays under 30 ms).
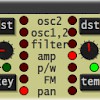
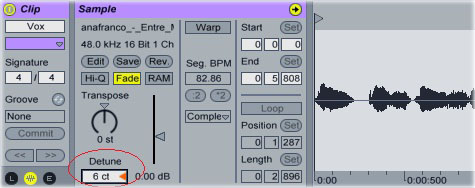
Click on the vocal clip in the Vox L track to open its waveform display. Change its “Detune” control to 6. Click on the Vox R clip and change its detune to -6.
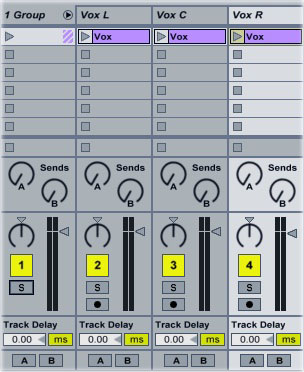
Drag the volume sliders for the left and right vocal tracks all the way to the bottom. Start playing the vocal; as the three tracks play, drag the left and right volume sliders upward until they’re filling out the vocals without becoming obtrusive: