How to Make a Trance Gate Effect
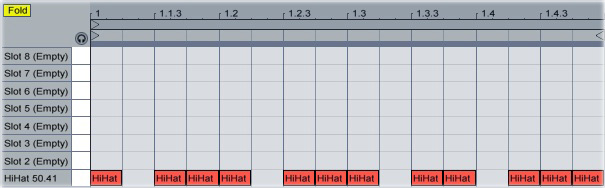
Add the sound that you want to gate (either a piece of recorded audio or a synth plug-in) to a new channel in Ableton. Create a new MIDI channel, then add the Impulse drum machine to this new channel. Load a short sample into the first slot in Impulse (a closed hi-hat is ideal). Create a new MIDI clip on the Impulse channel, then program in the pattern that you want to use for the gate:
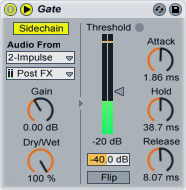
Turn down the Impulse channel’s volume (or just deactivate the channel). Switch over to the sound that you want to gate and drop a Gate plug-in onto its channel. Click the arrow next to “Gate” to open the sidechain section, then click the “Sidechain” button to turn it on. Select “Impulse” in the “Audio From” drop-down menu, then turn the “Attack,” “Hold” and “Release” knobs to their centre positions. Drag the “Threshold” slider downward until you hear a rhythmic gating effect being applied to the sound:
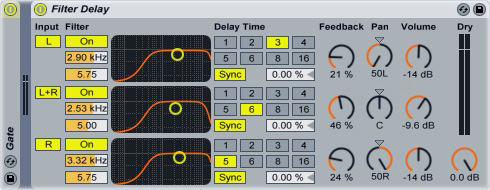
Fine-tune the length of the gate effect by adjusting the Attack, Hold and Release knobs. Lower settings will increase the separation between the bursts of sound; higher settings will decrease the separation. To create more density in the sound, add a Filter Delay plug-in after the Gate.