Nothing Found!
We've recently revamped the site, so some things may have moved. It looks like you might have been looking for one of these pages; if not, please try the searchbar (up and to your right).
-
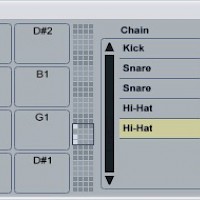
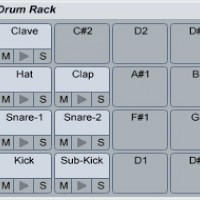
Doubling Drums
Using two copies of the same drum sample in a beat makes the drums sound bigger and fuller. Load up a kick, snare and hi-hat into Ableton’s Drum Rack, then open the Rack’s “Chains” section. Right-click the snare drum in the list of chains and select “Duplicate.” Do the same for the hi-hat.
Read More -

Return Track Tips & Tricks
Ableton’s Drum Rack instrument has its own integrated send/return section, which allows you to add return effects to individual drum samples.
Read More -

How to Make a Trance Gate Effect
Add the sound that you want to gate (either a piece of recorded audio or a synth plug-in) to a new channel in Ableton. Create a new MIDI channel, then add the Impulse drum machine to this new channel....
Read More -
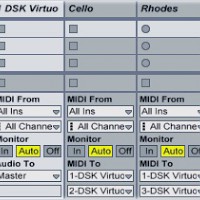
How to Use Multi-Layer Synths in Ableton
Using MIDI tracks to play the different instruments inside a multi-layer synthesizer plug-in can potentially save you massive amounts of CPU power. Instead of loading a new copy of the VST instrument for each part, you can open several instruments inside the same plug-in.
Read More -

Adding Movement to Pads
Pads are simple, drawn-out synths that sit in the background of a track. Because they’re background instruments, pads are usually fairly uncomplicated, so as not to distract from the rest of the track.
Read More -
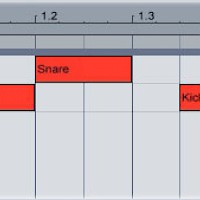
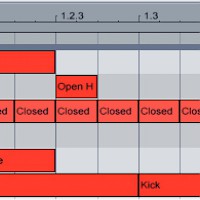
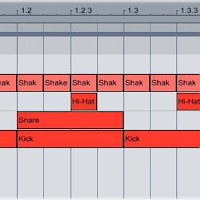
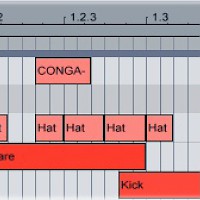
Make a Drum & Bass Beat
Set Ableton’s tempo to around 175 bpm. Open Drum Rack and load up a kick and snare. Create a new MIDI clip, then put the kick on 1 and 1.3.3. Put a snare on 1.2 and 1.4. This rhythm is the basis of the drum ‘n’ bass beat. Load up three hi-hat samples: one short closed hi-hat and two longer open hi-hats.
Read More -
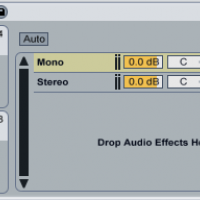
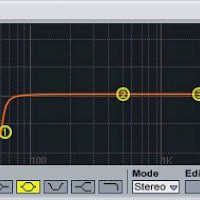
Build a Bass Mono/Stereo Rack in Ableton
Generally speaking, the bass channel in a track should be in mono: most subwoofers (not to mention club soundsystems) play a mono signal much better than a stereo one.
Read More -
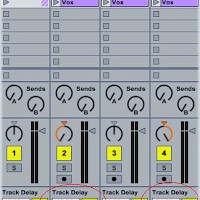
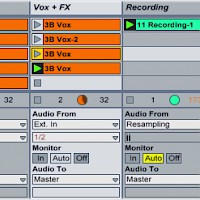
Doubling Vocals
Doubling vocals makes them sound bigger and fuller in the mix. A vocal doubler plug-in creates two (or more) copies of the vocal, pans them to the left and right, then adds a slightly different delay...
Read More -
NI Massive Wavetable Images
Native Instruments’ Massive synthesizer uses a unique set of wavetable oscillators to produce sound. Some of the oscillators are self-evident: “Square-Saw” blends square and saw waves, and “Sine-Triangle” mixes a sine and a triangle.
Read More -
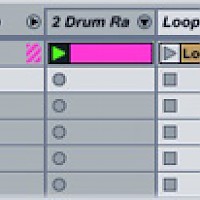
Using Drum Loops
Adding a drum loop on top of a programmed MIDI beat is a quick way to give it a more fluid, natural sound. Think of the MIDI clip as the base of the beat, and the loop as the ornamentation. Unfortunately, Drum Rack and Impulse can’t warp samples, so unless the loop that you’re using was recorded at the same tempo as the track you’re making (and is perfectly in time), you’ll need to add it to a separate audio track.
Read More -
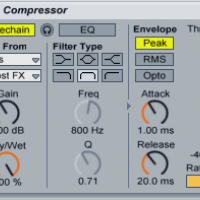
Synchronize a Sidechained Compressor to the Beat
Sidechained compression is an ubiquitous sound in dance music. Its pumping sound brings a shot of energy to basslines, pads, lead synths, vocals: nearly any element of an EDM track.
Read More -

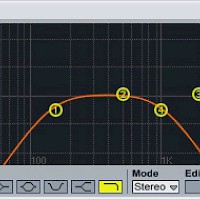
Make a Formant Filter
Formant filters (loosely) simulate the characteristics of the human voice. When a formant filter is set to the letter “E,” for example, it emphasizes the frequencies contained in the “E” sound...
Read More -
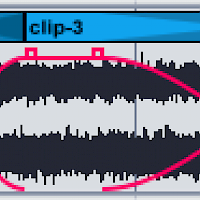
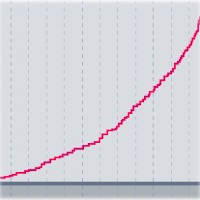
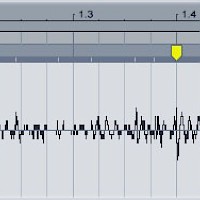
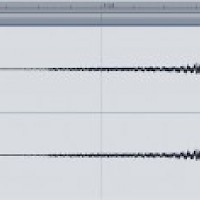
Extreme Sample Stretching
Stretching out audio can do magical things to it: hidden melodies appear, transients crumble into blurs, and tiny blips of sound turn into rich soundscapes.
Read More -
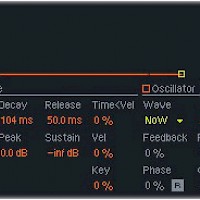
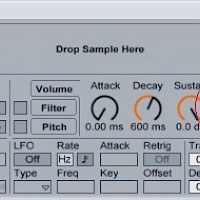
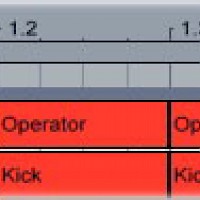
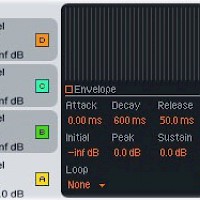
How to Synthesize Drums
Samples make creating beats quick and easy, but knowing how to synthesize your own kicks, snares and hi-hats will give you a better understanding of how drum sounds work. Start up Ableton’s Operator synth, then create a new MIDI clip. Add a note on each quarter beat. It doesn’t matter which note you use: you’ll be setting the pitch using the synthesizer itself.
Read More -
Audio Effects 101: Time-based FX
Time-altering audio effects like reverbs, delays and choruses all function in essentially the same way: they capture a portion of an input sound, delay it slightly, then play it back.
Read More -
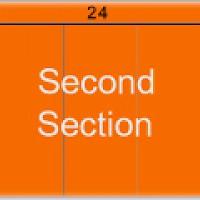
Arranging Dance Music
A dance track usually has a looser structure than a hip-hop or pop song — but it does have a structure. Following a structure when you’re arranging your track makes it more DJ-friendly — and therefore more likely to get played out in a club.
Read More -
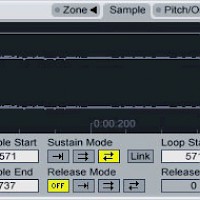
How to Create a Multi-Sample in Ableton Sampler
Ableton’s Sampler plug-in is a powerful audio manipulation tool that lets you transform raw audio samples into a playable instrument.
Read More -
Vinyl-ize Your Track
Incorporating the crackles and hiss from a vinyl record into your digital production adds a subtle layer of dusty soul to your track.
Read More -
MIDI Drum Patterns for EDM
Programming beats using MIDI with Ableton Drum Rack (or any other drum machine) gives you a degree of customization and flexibility that using pre-fab loops can’t match. When you’re starting to produce in a new genre, though, it can be difficult to figure out exactly where each drum hit should go.
Read More -
How to Make Sub-Kicks
If the kick sample you’re using isn’t beefy enough, layer it with a low-pitched synthesized sub-kick. The sub-kick adds bass without overly changing the tonal character of the kick.
Read More -
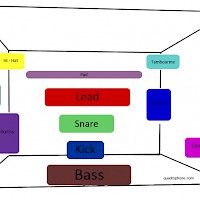
3-D Mixing
To prevent sonic conflict, each element in your track needs its own space in the mix. To help you put each element in its own space, think of the mix as if it were filling a room...
Read More -
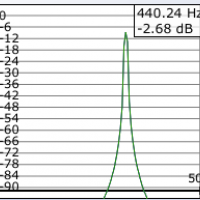
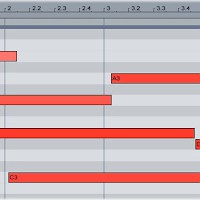
Tune Synths to A432 in Ableton
The idea that the note A3 should correspond to the frequency 440 Hz is a fairly recent one; although A440?s been in use since the 19th century, it’s only since the 1950s that it’s been accepted as the standard tuning.
Read More -
Make a Track from Found Sounds
Prepackaged sample packs are great tools, but unless you alter the samples extensively, they can make your tracks sound cookie-cutter and samey. Recording your own sample packs gives your production a unique sound;
Read More -

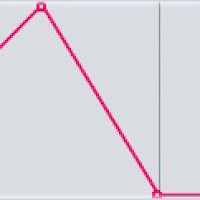
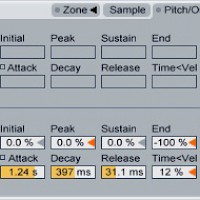
Using Pitch Bend
Pitch bending smoothly lowers or raises the pitch of a note according to a defined envelope. You can quickly access a MIDI clip’s pitch bend envelope in Ableton...
Read More -
Make a Moombahton Beat
Programming a moombahton drum pattern in Ableton Live is somewhat similar to making a house beat — but with some significant differences. To create its swinging, funky vibe, moombahton uses more syncopated and off-beat percussion than house usually does.
Read More -
How to Make a House Beat
Open Drum Rack on a MIDI track, then set the global BPM to about 125. Load up a kick, snare, hi-hat, shaker, crash cymbal and ride cymbal. Turn all of the samples’ velocity controls up. Create a new MIDI clip, then put a kick on 1, 1.2, 1.3 and 1.4. Put the snare sample on 1.2 and 1.4. Program the hi-hat on 1.1.3, 1.2.3, 1.3.3 and 1.4.3. Add a shaker on every sixteenth note.
Read More -
Tips for Using Reverb
A reverb effect creates a complex series of echoes from a source sound. Reverb usually simulates a certain listening environment like a jazz club or a concert hall; used heavily and creatively, it can also warp a source sound until it’s unrecognizable.
Read More -
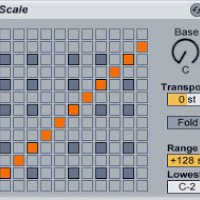
Using the Ableton Scale Plug-In
A musical key defines the relationship of the notes in a song. Without going into too much music theory, keeping the different elements of a track in the same key is essential to making them fit together musically.
Read More -
How to Synthesize Risers
Whooshing risers act as punctuation within a track, signifying the end of one section and the beginning of the next. The simplest kind of riser is just a white-noise generator run through an automated filter.
Read More -
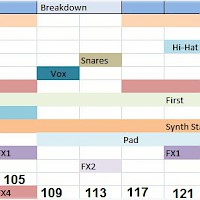
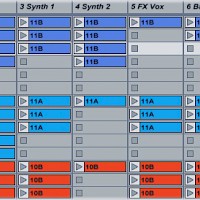
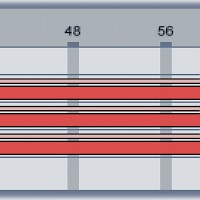
Track Maps
One of the best ways to learn about arranging tracks is to analyze other artists’. Pick one of your favourite tracks, then listen closely to it, noting how and when each element enters and leaves the arrangement.
Read More -
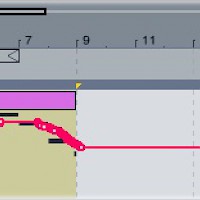
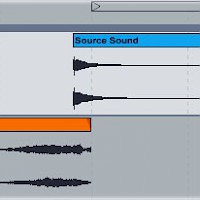
Reverse Snares
Load a snare sample into Drum Rack. Load another copy of the same sample onto an empty audio channel. Double-click the sample on the audio channel, then click the “Rev.” button. Ableton will reverse the sample. The reversed sample is an irregular length, which is going to make it hard to use in a MIDI loop. To fix this, click the “Warp” button to warp the clip, then drag the trim…
Read More -
Mixing the Bass and Kick
Because the bassline and the kick drum are the two lowest-frequency elements of your track, they’ll often end up occupying the same space...
Read More -
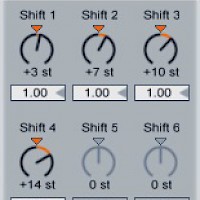
Using the Ableton Chord Plug-in
Ableton’s Chord MIDI effect automatically creates a chord from a single MIDI note. The Chord plug-in is really only useful in conjunction with the Scale plug-in, so start by dropping a Scale effect before the synth.
Read More -
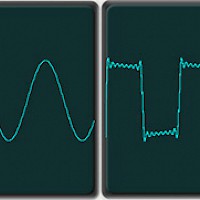
Make a Synth from a Sample
All sounds, synthesized or natural, are made up of waves. Most synthesizers produce simple, pure waveforms, while naturally occurring sounds are much messier — and more interesting.
Read More -
Using Triplets in Beats
The elements of electronic music are generally divisible by four: four kicks per bar, eight bars per loop, sixteen notes in a melody. To add interest to your beats, break up the 4/4 using triplet drums. A triplet jams three notes into a space that should only be occupied by two.
Read More -
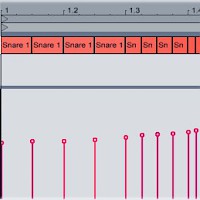
Snare Rolls
It’s been around forever, but the snare roll is still a dancefloor-devastating way to lead out of the breakdown and back into the beat. If your snare roll sounds too robotic and programmed, use MIDI velocity control to make it sound more natural. Program in a basic snare roll (four eighth notes, followed by four sixteenth notes, then eight 32nd notes).
Read More -
Frequency Splitting with Effects
Frequency splitting divides a sound’s frequency spectrum into sections, allowing you to alter one section of the spectrum without changing the rest.
Read More -
Smoother Chord Progressions
When a group of instruments — like a string section — plays together, each instrument starts and stops each note at a slightly different time. Digitally programmed instruments, on the other hand, will start and stop exactly where they’re told to.
Read More